
How to Label Moving Boxes: Detailed Guide
A box labeled “Stuff” is a box you will open three times before you find the scissors. Good labels are the difference between a move where everything lands in the right room and a move where you spend two weeks hunting for the coffee maker.
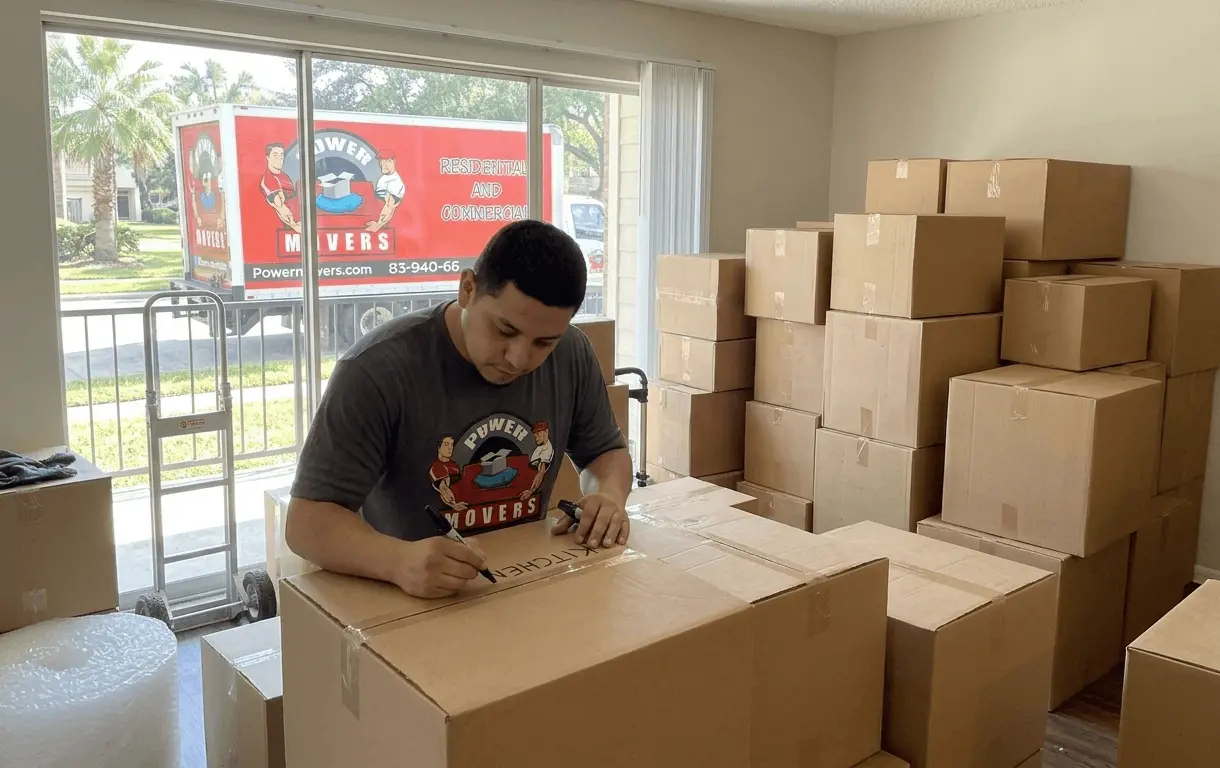
Seal each box first, then write the destination room, a box number, and a short description of what’s inside on the top and at least two sides, using a dark, thick marker.
Add handling notes like “Fragile” and “This Side Up,” keep a matching list of box numbers, and add color coding if you want movers to sort boxes at a glance. The rest of this guide shows how to set up each piece and avoid the mistakes that make labels useless.
Table Of Contents[hide]
What You'll Need
All of this is available at a hardware store, office supply store, or moving supply store.
- Thick, waterproof black permanent markers
- Colored markers, colored tape, or colored stickers
- Blank or pre-printed labels
- Clear packing tape, to cover paper labels
- Clear plastic label sleeves, if boxes are going into storage
- A notebook, spreadsheet, or moving app for your inventory
- Paper and tape, for room signs at your new home
- A printed or handwritten color legend
How to Label Moving Boxes?
- Decide on a system before you pack. The more boxes you label the same way, the faster everything goes. Choose what every label will include, which colors map to which rooms, and where the labels will go, then stick to it.
- Pack room by room. Mixing items from different rooms in one box makes labeling vague. Pack one room at a time and keep similar items together.
- Tell everyone who helps. Friends, family, and movers can’t use a system they don’t know. Give them a one-page legend that lists each color, room, and abbreviation.
- Use names the crew will understand. Write “Primary Bedroom” or “Kitchen,” not a nickname like “Dad’s cave.” For multi-story homes, add the floor, attic, or basement.
Step-by-Step Guide to Labeling Moving Boxes
Step 1: Pack First, Then Seal
Finish packing the box and tape it shut before you write anything. Labels written on empty or half-packed boxes often turn out wrong, because plans change as you pack. If a box ends up holding something different from the label, you’ll waste time at the other end.
Step 2: Write the Room, Number, and Contents
On every box, write three things in large, dark letters:
- Destination room, such as “Kitchen” or “Bedroom 2”
- Box number, such as “Box 14”
- Short contents, such as “pots, pans, lids”
Put the room name where the crew will see it first. Keep contents brief but specific. “Kitchen, Box 7: pots, pans, lids” tells you far more than “Kitchen stuff.” If a box holds a mix of small items, “Office, Box 3: cords, chargers, desk supplies” is more useful than “Misc.”
Step 3: Label the Top and at Least Two Sides
A label on the top disappears once boxes are stacked, and a label on only one side may face the wall. Put the room name and number on the top and on at least two neighboring sides. That way one label is always visible, no matter how the box is stacked. Use the same position on every box so labels are easy to find.
Write in big letters. If you can’t read the label from a few feet away, it’s too small.
Step 4: Add Handling Notes
Mark breakable boxes “FRAGILE” in bold letters or with a sticker, and add arrows showing which side faces up. Write “HEAVY” on boxes that are hard to lift, and note the weight if you can. Pair these notes with the room name, not in place of it.
Fragile marks work best when used sparingly. If every box says “Fragile,” nobody can tell which ones really are.
Step 5: Add Color Coding
Color makes boxes easy to sort from across a room. Assign one color to each room, then mark boxes with colored tape, stickers, or markers on at least two sides. A typical key might be yellow for the kitchen, blue for the bathroom, green for the living room, and orange for a bedroom.
If you have more rooms than colors, use patterns such as stripes or dots. Don’t rely on color alone, though. Still write the room name in text, because colors can be hard to distinguish in poor light and not everyone sees them the same way.
Post a legend near the front door of your old home so loaders know the system, and tape a matching colored sign in each room of the new home so unloaders know where to set boxes down.
Step 6: Number Your Boxes and Keep an Inventory
Give each box its own unique number, then keep a matching list in a notebook, spreadsheet, or moving app. For each box, record:
- The box number
- The destination room
- A short description of the contents
- Unpacking priority, such as “Open First,” “First Week,” or “Later”
- The room color, if you use colors
Knowing the total count helps you notice immediately if a box is missing. You can also check the list to find a specific item without opening five boxes. Update it as you unpack, and photograph valuable items for your own records.
Step 7: Mark Priority Boxes
Pack an essentials box for each person with the basics you’ll need on the first night: toiletries, medications, a change of clothes, bedding, chargers, and snacks. Label it “OPEN FIRST” with a bold color or a star. Many people keep these in their own car rather than the truck.
At the other end of the spectrum, mark low-priority boxes, such as seasonal items or spare linens, with a symbol like “0” so they can wait.
Step 8: Protect the Labels
Cover paper labels with clear packing tape so the edges don’t curl or smear. Use waterproof markers on every box. For boxes headed to a garage, storage unit, or other damp spaces, laminate the labels or use clear plastic label sleeves, which also let you swap labels later.
If you’re reusing boxes, cover or cross out any old writing so it doesn’t confuse the crew.
Step 9: Walk Your Movers or Helpers Through the System
Before anyone starts carrying, show them the legend, explain what the colors and numbers mean, and point out where the essentials boxes are. A two-minute walkthrough prevents hours of confusion.
Good Labels vs. Weak Labels
Weak label | Better label |
Stuff | Kitchen, Box 7: pots, pans, lids |
Misc | Office, Box 3: cords, chargers, desk supplies |
Dad’s cave | Basement Den, Box 12: books, framed photos |
Fragile | Dining Room, Box 5: glassware, FRAGILE, arrows up |
Bedroom | Primary Bedroom, Box 9: linens, OPEN FIRST |
What Not to Write on a Box: Anyone who handles your boxes can read them. If you’re worried about privacy, use the room and number on the outside and keep the detailed list in your inventory. Write “Office, Box 4” instead of “laptop, passports, hard drive.” Valuables, documents, medications, and jewelry are best carried with you rather than loaded on a truck.
If you use a moving app that stores box contents, choose one with password protection for sensitive items, and test any QR codes before moving day.
Special Situations
- Long distance moves: Your boxes may share a truck with other customers' belongings, so add your last name or another identifier on each box in case it gets mixed up. A numbered inventory also helps you confirm everything arrived.
- Storage: Use clear plastic label sleeves so you can change the contents later. List contents more fully than you would for a same-week move, since you may not open the box for months.
- Multi-story homes and apartments: Include the floor or area on the label, such as "Upstairs, Bedroom 2," so the crew doesn't have to guess which level to use.
- Kids and mixed-language households: Pair words with simple icons, such as a bed or a fork, so everyone can sort boxes.
- Furniture and hardware: Put screws, bolts, and brackets in a labeled bag and tape it to the piece it belongs to. Label each piece with its room.
Houston’s humidity can make paper labels peel and marker ink smear, especially if boxes sit in a hot garage or on a truck for hours. Use waterproof markers, cover paper labels with clear tape, and consider laminated labels for anything going into a garage or storage unit. If it rains during loading, labels that aren’t covered can become unreadable, so check them before the truck leaves.
Common mistakes to avoid?
- Labeling only the top of the box
- Writing labels before the box is packed
- Using vague words like “Stuff” or “Misc”
- Using nicknames or abbreviations the crew can’t read
- Writing in small or light-colored letters
- Relying on color alone without room names
- Mixing items from different rooms in one box
- Leaving old labels on reused boxes
- Forgetting to tell movers how your system works
Labeling takes time, especially in a large house. If you’re short on time or planning a long distance move, hiring help for packing can save hours, and a trained crew will box and mark items consistently.
Power Movers provides packing and moving help in Houston. If you hire any packing crew, ask how they label and number boxes, and request a copy of the inventory so you can check items off at delivery.

Article written by
Gary Williams founded Power Movers, a Houston moving company with more than 1,000 reviews. He spent 12 years with the Houston Police Department’s Central Division, where moving-company complaint calls were part of what pushed him to start the business. Power Movers has worked with Tesla, Lululemon, and the Houston Rodeo, and is featured in Forbes Advisor’s Best Moving Companies in Houston list.