
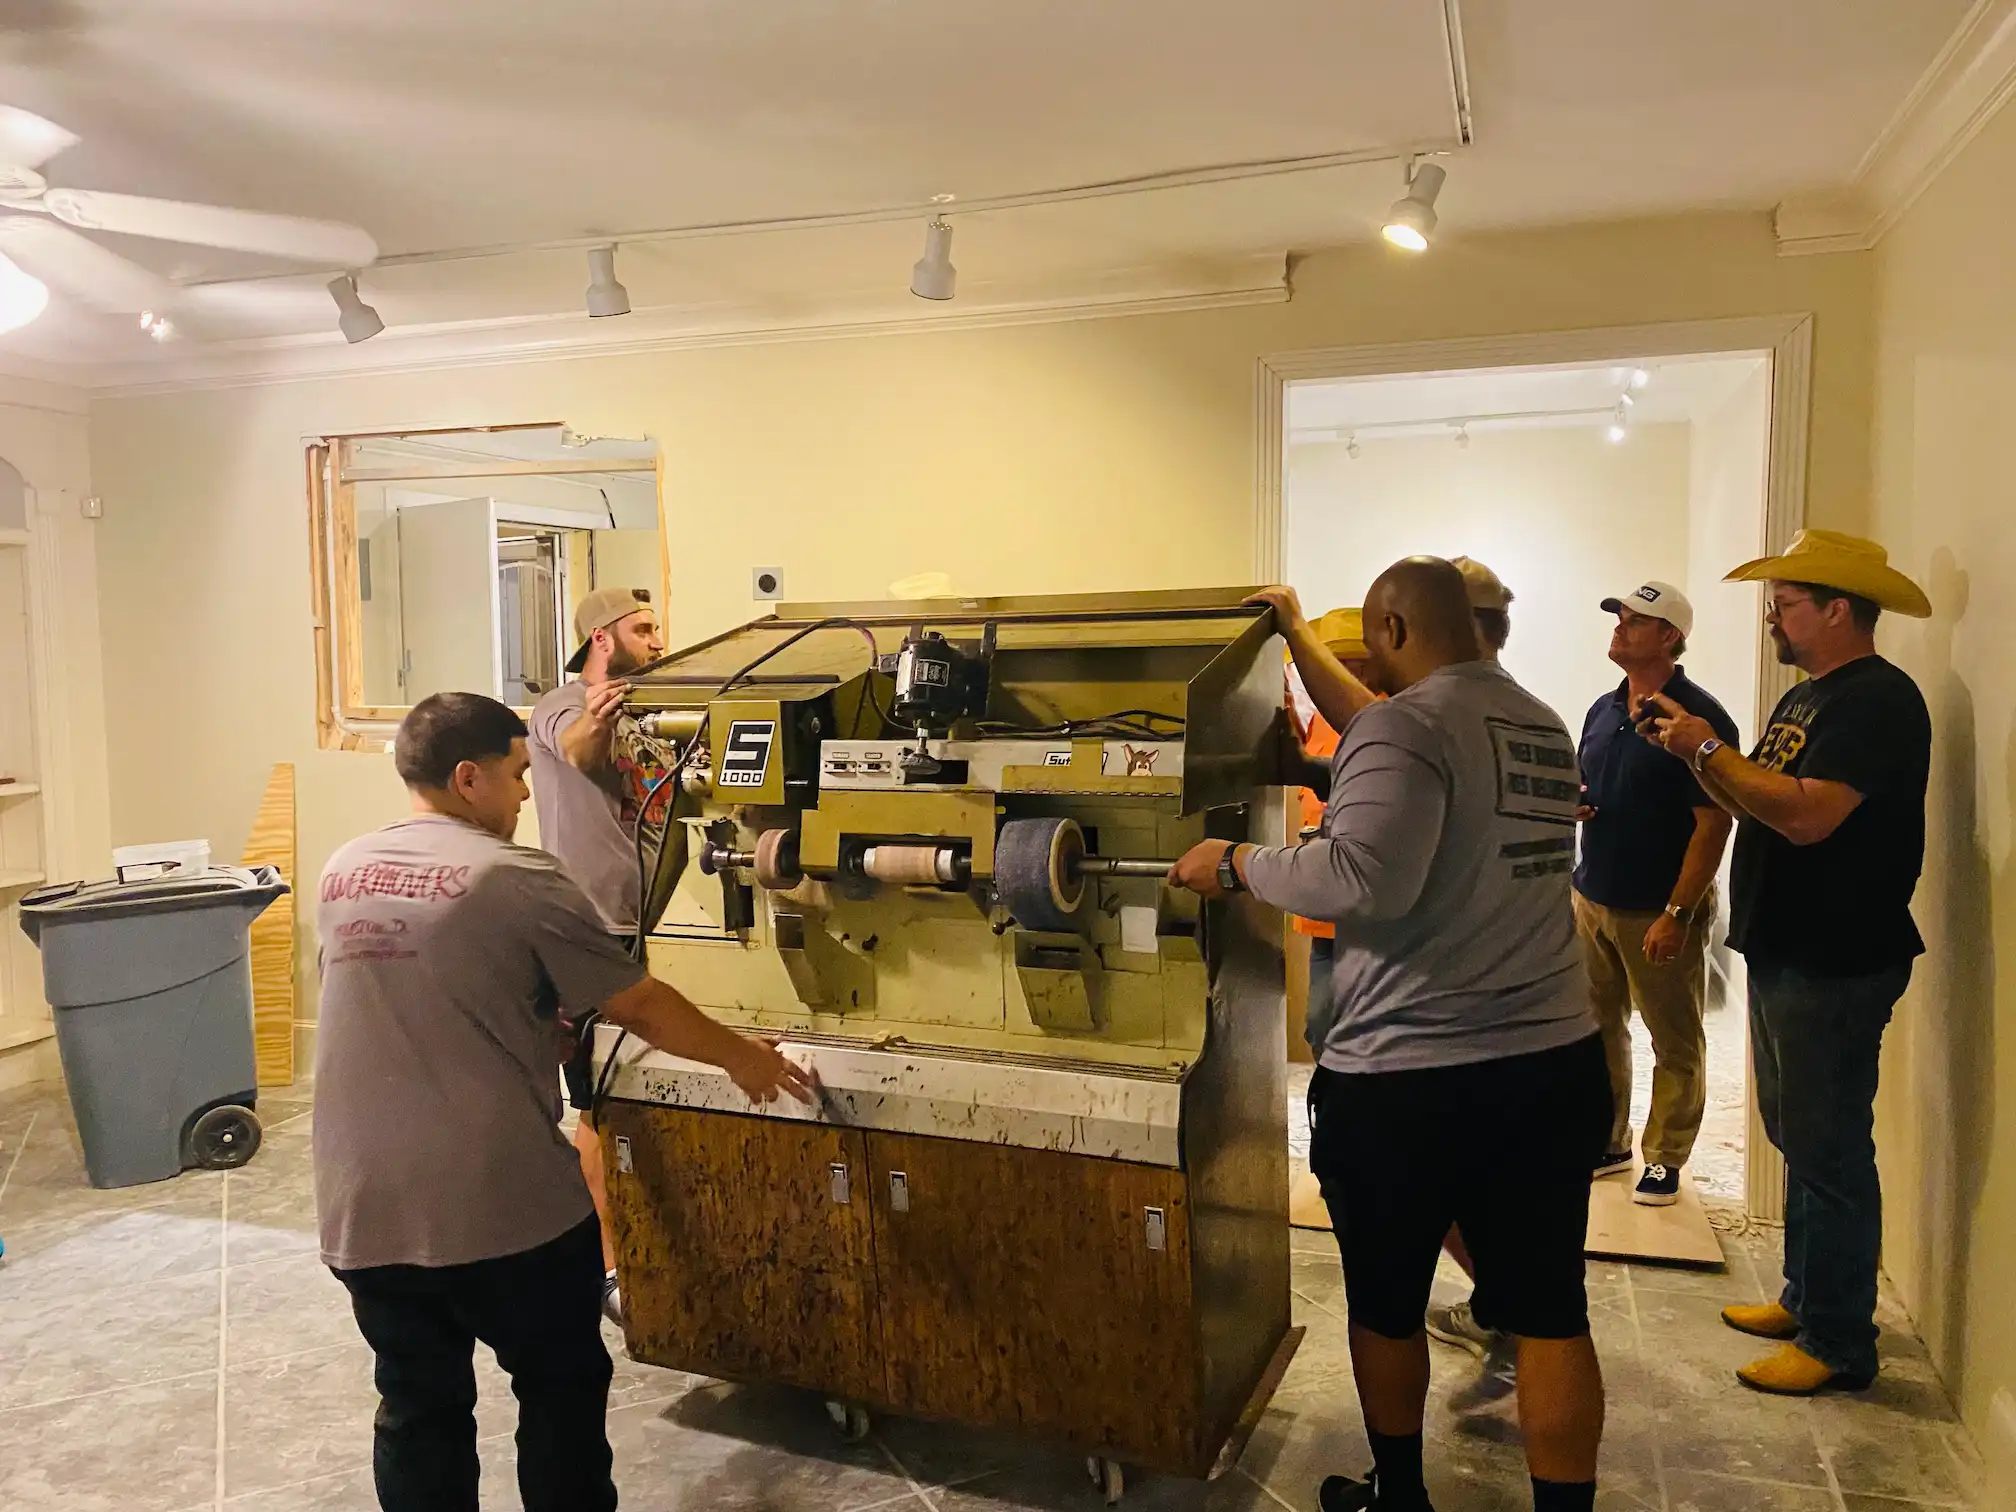
How to Move Heavy Machinery Safely?
A couple of years ago I received a call from a shop owner who had spent all day Saturday attempting to drag a 900-pound air compressor across his garage with just a furniture dolly and the best intentions. When he called us, it was sideways in a doorway, one of its casters was already cracked, and his back was screaming from the strain of trying to heave it out of the jam. He’d just assumed large equipment worked like large furniture. It does not.
Moving anything heavy-whether it’s a compressor that’s part of your shop equipment, an industrial oven, or a piece of machinery that’s bolted to the floor-is not like moving a sofa or a dressy chest of drawers. The weight is distributed unevenly, its balance points are not always obvious, and a missing bolt or a disconnected line can quickly transform a two-hour moving job into a six-hour repair project.
This guide provides a step-by-step breakdown on how to move heavy machinery yourself using tools you can purchase from any hardware store, explains what you need to consider before you lift anything, tells you how much it really costs to move it, and advises you on when to pay for help instead.
Table Of Contents[hide]
Hardware That Works Best
No need for special equipment rentals to get through much of the stuff in this guide. These tools are all available at hardware stores and work with a wide variety of equipment.
- Heavy-duty hand truck or dolly (capacity: 600 to 1,000 pounds). Essential for lifting and rolling equipment short distances.
- Appliance dolly with an integrated ratchet strap. Made for top-heavy items such as refrigerators and ovens.
- Moving blankets or furniture pads. Protect corners and edges from cracks and scrapes during transport.
- Cardboard or rosin paper. Protects finished floors from scuffing as equipment is dragged across them.
- Three-quarter-inch-thick plywood sheets. Provides a smooth path over dirt, gravel, or an uneven surface.
- Pry bar or flat bar. Used to gently loosen bolts without damaging the surface underneath equipment or base it's attached to.
- Ratchet or tie-down straps. Secures equipment to a dolly or truck bed to prevent shifting.
- Half-inch nylon or natural fiber rope. Helpful for controlling descent on ramps and stabilizing odd-shaped loads.
- Socket and adjustable wrenches. For removing bolts, hose fittings, and various hardware.
- Multiple sizes of flat-head and Phillips screwdrivers. Used to remove panels and disconnect basic wiring.
- Furniture sliders or gliders. For small adjustments of flat-bottom equipment.
- Work gloves with good grip. Offers better control and protection for smooth surfaces.
- 25-foot tape measure and bathroom or luggage scale. Confirms dimensions and weighs equipment before committing to a plan.
If a tool rental center is nearby, a pallet jack with a 2,000- to 5,500-pound capacity will make moving rolling equipment far easier and is well worth the cost (typically $40 to $75 per day) for equipment weighing more than 500 pounds. While not essential for the techniques in this guide, a pallet jack is by far the most significant risk-reduction tool you can acquire for such a job.
What to Look Out for Before You Get Moving
Spend about half an hour checking things out before you touch a wrench or ask a neighbor for assistance. Most DIY movers make this mistake, and it’s often the reason for an expensive blunder rather than a seamless move.
- Verify weight. Look for the manufacturer's nameplate or specs sheet. If unavailable, weigh what you can and estimate the rest or contact the manufacturer for more information.
- Measure everything. Include all doorframes, hallways, and stairways that lie on the planned path (not just the most direct path on a blueprint).
- Check the ceiling and any overhead obstacles. Light fixtures, ducts, and doorways can easily be damaged.
- Evaluate the floor surface at the starting point and the destination. A tiled floor or a second-story wooden floor cannot safely bear as much weight as concrete.
- Determine the center of gravity. A top-heavy piece of equipment such as an upright oven or cabinet can tip more easily than its appearance would suggest.
- Note any damage or signs of wear and tear. Cracked casters, corroded hardware, or fraying electrical cords can break under strain.
- Do a walk-through. Go over the planned path from start to finish once without carrying anything. Don't forget to walk it through with your truck or trailer.
- Plan for assistance. The items covered here almost always require at least two or three people-not just one person.
You may find that some points here overlap with the pre-move checklist below; this is intentional. Consider this your reconnaissance phase, and the checklist as the final go-no-go decision before you start.
Step-by-Step Instructions by Equipment Type
How you’ll move heavy equipment depends entirely on its type. A rolling tool cabinet is vastly different from a bolted air compressor or modular machinery. Below are four general categories, along with approximate times and the typical failure points.
Heavy Appliances (Industrial Ovens, Commercial Refrigerators, Washers and Dryers)
Time estimate: One to three hours for one appliance with two people. Risk of damage is high at door thresholds and any change in floor surface where the appliance can tip or fall.
- Remove power sources. Unplug it from the wall and, for ovens or appliances with gas lines, shut off the gas at the supply before moving. Cap or close off water lines to washing machines.
- Empty the interior completely. Remove all drawers, shelves, racks, and anything loose inside; wrap them individually in moving blankets.
- Secure swinging doors. Tape them shut or remove them, if possible, to prevent accidental pinching or tilting the unit.
- Load it onto a dolly. For units with wheels, lean the appliance onto an appliance dolly, strap it securely at waist height and the base, keeping the weight directly over the dolly wheels. For units without casters, place furniture sliders under each corner and move it in short, controlled pushes rather than one long one.
- Slow down at transitions. Pause frequently when moving across threshold or changes in floor material to ensure balance.
- Strap and brace it. Once inside your truck or trailer, tie down the unit at two points against the wall or trailer’s track and chock its base to prevent it from rolling.
The threshold crossing and the initial tilt onto the dolly are the most common points of damage when moving large appliances. Commercial refrigerators or ovens often weigh 250 to 600 pounds, with much of the weight centered near the back and high up, making the tilt the most dangerous stage of the move.
Industrial Equipment With Fixed or Bolted Bases (Generators, Air Compressors, Small Milling Machines)
Time estimate: 2 to 5 hours, longer if you’re unfamiliar with the equipment’s mounting hardware. The most common failure point is assuming the unit is free to move without checking for bolts, anchors, or hidden fasteners first. Inspect the base fully, on all sides and underneath if possible, for bolts, anchor plates, or adhesive mounting pads before attempting to lift or slide anything.
- Disconnect all fuel, oil, and electrical lines, draining fluids where the manufacturer’s manual recommends it, since a full tank adds unexpected weight and spill risk.
- Remove or loosen mounting bolts with a socket wrench, working corner to corner rather than one side at a time, so the unit doesn’t shift unevenly as bolts come loose.
- Once free from its base, lift with a hand truck rated for the estimated weight, tilting back only as far as necessary to slide the truck’s blade underneath. Balance the load directly over the dolly’s axle, not out toward the handles. A load that hangs too far forward or back is what causes tip-overs on uneven ground.
- Move in short, deliberate distances, setting the unit down fully before repositioning your grip rather than trying to walk the entire distance in one pass.
- At the destination, re-anchor the equipment using the same bolt pattern if it needs to be fixed in place again, replacing any hardware that was damaged during removal.
I once watched a customer spend six extra hours on a 2-ton milling machine because nobody checked for bolts before trying to slide it across the shop floor. The base was anchored with four half-inch lag bolts hidden under a layer of grime, and by the time we found them, two had already been partially sheared trying to force the machine loose. Always check underneath before you pull, pry, or push anything with a bolted base.
Wheeled Shop Equipment (Tool Cabinets, Workbenches on Casters, Small Lathes)
Time estimate: 30 minutes to 2 hours per piece, depending on how loaded the unit is. The most common failure point is drawers or loose tools shifting mid-move, which can suddenly tip an otherwise stable cabinet. Lock or check every caster wheel before loading anything, confirming each one rolls freely and isn’t cracked or seized.
- Empty or secure heavy drawers, either removing loose tools entirely or taping drawers shut, since a drawer sliding open mid-move shifts the center of gravity fast.
- Redistribute weight if you’re able to rearrange contents before moving, keeping the heaviest items low and centered on the unit.
- Lay plywood or cardboard sheets across thresholds, gravel, or uneven pavement, since small caster wheels catch easily on gaps and seams.
- Push from the strongest structural point, usually a reinforced edge or handle, rather than the top surface, which can flex or crack under lateral pressure.
- Guide the unit with one person steering and a second person watching the path ahead for obstacles, cords, or uneven ground.
- On any incline or ramp, control the descent with a rope or strap from behind rather than letting gravity do the work. Casters accelerate faster than expected on even a gentle slope.
Wheeled equipment feels like the easy category because it’s already built to roll, and that’s exactly why people get careless with it. A loaded tool cabinet can weigh 400 to 800 pounds, and most of the damage I see happens on ramps or thresholds, where the wheels catch unevenly and the whole unit lurches sideways.
Modular Machinery (Equipment With Separable Components)
Time estimate: 3 to 8 hours, depending on how many components need to come apart and how familiar you are with the equipment. The most common failure point is reassembling components in the wrong order or losing hardware during disassembly.
- Photograph the equipment from multiple angles before touching anything, especially connection points, wiring, and hose routing, since you’ll need this reference during reassembly.
- Label every bolt, bracket, and cable as you remove it, and keep hardware from each component in its own labeled bag.
- Disconnect components in the reverse order they were originally assembled where possible; manufacturer manuals usually list the assembly sequence.
- Protect exposed connection points, sensors, and calibration components with bubble wrap or foam, since these parts are often more fragile than the machinery’s outer housing.
- Move each component separately rather than keeping partially assembled sections together, since partial assemblies are harder to balance and control.
- Reassemble at the destination in the order shown in your photos, testing each connection before moving on to the next component instead of assembling everything and testing at the end.
Modular equipment is where DIY moves go sideways most often, simply because there are more parts, more connections, and more chances to lose track of what goes where. If this sounds like more disassembly than you’re confident handling, professional movers like Power Movers can take on the breakdown and reassembly instead of leaving it to guesswork.
Pre-Move Assessment Checklist
Before you commit to doing any of this yourself, run through this checklist. It’s more specific than the general prep steps earlier in this guide, and it’s meant to be a real decision point, not just a formality.
- Do you know the exact weight and dimensions of the equipment, either from a manufacturer spec sheet or a direct measurement?
- Have you walked the entire access route, doorways, hallways, stairwells, and any outdoor terrain, and confirmed it’s wide and strong enough?
- Have you confirmed the space at the destination will fit the equipment, and that the floor there can support its weight?
- Do you know exactly what needs to be disconnected, electrical, gas, or hydraulic lines, or structural bolts, and do you have the tools and knowledge to disconnect them safely?
- Are there fragile components, sensitive calibrations, or height restrictions that require handling beyond what’s covered in this guide?
If you can answer all five with confidence, you’re in reasonable shape to attempt the move yourself. If you’re unsure about even one, especially the disconnection question, that’s usually the sign to get a professional quote before you start.
Moving Cost Breakdown
These are industry-standard 2025 to 2026 estimates for professional machinery moves in the U.S. Actual pricing varies by provider, region, and equipment type, so treat these as a planning baseline rather than a quote.
- Local moves (same city or metro area): $800 to $2,500 for a single piece of machinery, depending on weight, access difficulty, and whether disassembly is required.
- Long-distance moves (100 to 500 miles): $2,500 to $7,000, reflecting fuel costs, longer labor hours, and the logistics of transporting equipment safely over highway distances.
- Interstate or cross-country moves (500-plus miles): $5,000 to $15,000 or more, especially for oversized, heavy, or highly specialized equipment requiring custom crating or escort vehicles.
DIY costs look different. Materials and tool purchases from the list above typically run $50 to $300, and short-term equipment rental, like a pallet jack or appliance dolly, adds another $40 to $150 for a weekend.
Moving Cost Breakdown
It’s the risk of damage, which is where the numbers can shift fast. Factors That Affect Machinery Moving Costs Several variables will push the cost up and down more than people anticipate, when you are assessing DIY costs or obtaining estimates from movers.
- Equipment weight and size - Heavy, large machinery requires much more work, bigger gear and occasionally numerous journeys, all contributing to higher prices.
- Complexity of disassembly and reassembly - Machine bolted or modular hardware calls for much more effort. For instance, if the machinery movers must separate it, and afterward construct it on the site, expect anywhere from $200 - $600 added price.
- Fuel as well as distance - More lengthy transfers price even more in traveler gas, and also highway transfer mileage may call for fuel surcharges. The exact same rate of fuel as well as mileage might additionally be charged.
- Fees for moving and usage rights for over-sized loads - In Texas, machines larger than 8.5 feet or 8 feet as well as the top height will likely require oversize or weight allows from Tx Dept. Of Transportation. The cost for an oversize as well as or overweight allow and required roadway escort vehicle might set you back hundreds.
- Insurance coverage or obligation for damage - Basic coverage is normally consist ofdduring a moving quote; nevertheless, total insurance to substitute a piece of machinery, or if the hardware might be extremely high valued, must be considered.
- Destination setup as well as installation - Reconnecting lines as well as tools in addition to putting it in the exact position needed at its’ new location needs added time and effort on the part of the movers.
The hidden costs associated with do it yourself. In contrast, if you choose to move it yourself, and are unaware of how to do it safely, costs can stack up quickly. Individuals frequently don’t consider the time it requires to get their equipment disassembled, the expense of buying tools if they don’t already have a ratched or a crowbar, or if they do not understand how much time or money it requires to do repair service if they break it.
They are shocked to find out their $150 or $250 machinery transfer turns right into a $1,000-$2,500 or $3,000 fix, just due to an inadvertently snapped casing, or a dent or bent framework.
Safety and Damage-Prevention
Safe movement and hardware and equipment-preservation entails several routines and actions–that–can easily save a moving project money and aggravation.
- Lift with your legs, not your back bend down in squat-position as you approach the load. Keep equipment near to the human body as well as avoid twisting while-carrying equipment. This action helps in preventing a back injury which is among the most common types of injuries associated to DIY equipment moving jobs.
- Protect your flooring: Cover floors using-sheets of plywood or sheets of cardboard to disperse the load evenly and prevent scratches, dings or even the’cracking of the flooring or tile in the structure you’re-moving from.
- Secure all parts in transit using tie downs and ratchet straps to hold the items snugly to avoid any movement and shuffling during the transport phase of your machinery transfer project.
- Plan and recognize stopping points beforehand: Scout the path the machinery will go and mark down all of the narrow sections or tight curves so that the workers won’t run into any difficulty when transporting your equipment to its final destination.
- Know when to quit: If your machinery becomes unstable or the load seems too heavy for your’s team members it’s best to call it in a stop and seek assistance to prevent any harm to yourself and your machinery.
Should you encounter any of these circumstances, or find the checklists provided above to contain an overwhelming number of issues, then let Power Movers take care of your next machinery move. If your machinery could be easily moved using do-it-yourself strategies and methods without risk to you or your hardware, then proceed.
However, you will likely want to avoid moving an extremely heavy piece of equipment, a complex or delicate machine, or any kind of apparatus which would require more than two persons and their combined strength.
Final Thoughts
Moving machinery can seem difficult however, with the right devices and methods you should be able to do so effectively yourself with minimum disruption, and also financial burden. The trick is to prepare meticulously, assess any risks in advance, and also not take any kind of risks. When you do this, moving machinery successfully is just an issue of observing basic principles and also avoiding careless behavior.
One good guideline to adhere to when transferring any typeof equipment is to remember that the majority of the machinery which gets damaged is not the largest or heaviest piece butis rather something which is carelessly transported by an inadequatelyorganizedindividual or crew.
So remember to measure twice check fo all bolt as well as all fasteners, and never be in any hurry to move equipment. Your final decision should be based on your own assessment of the machine in the above list you should have a fair idea of whether or not you feel capable and equipped to handle the move on your own, or if it istime to bring in the experts to handle any and allheavy machinery moving needs.

Article written by
Gary founded Power Movers in 2007 after watching too many moving companies damage or steal from customers with no consequences. The company runs on one rule: every crew member gets background-checked, trained, and held to the same standard Gary was held to as a police officer. Over 9 years in, Power Movers handles local and long-distance moves, specialty items, and corporate relocations for Houston businesses including Tesla and Airgas.